
Building Bespoke Shelving for Alcoves and Corners
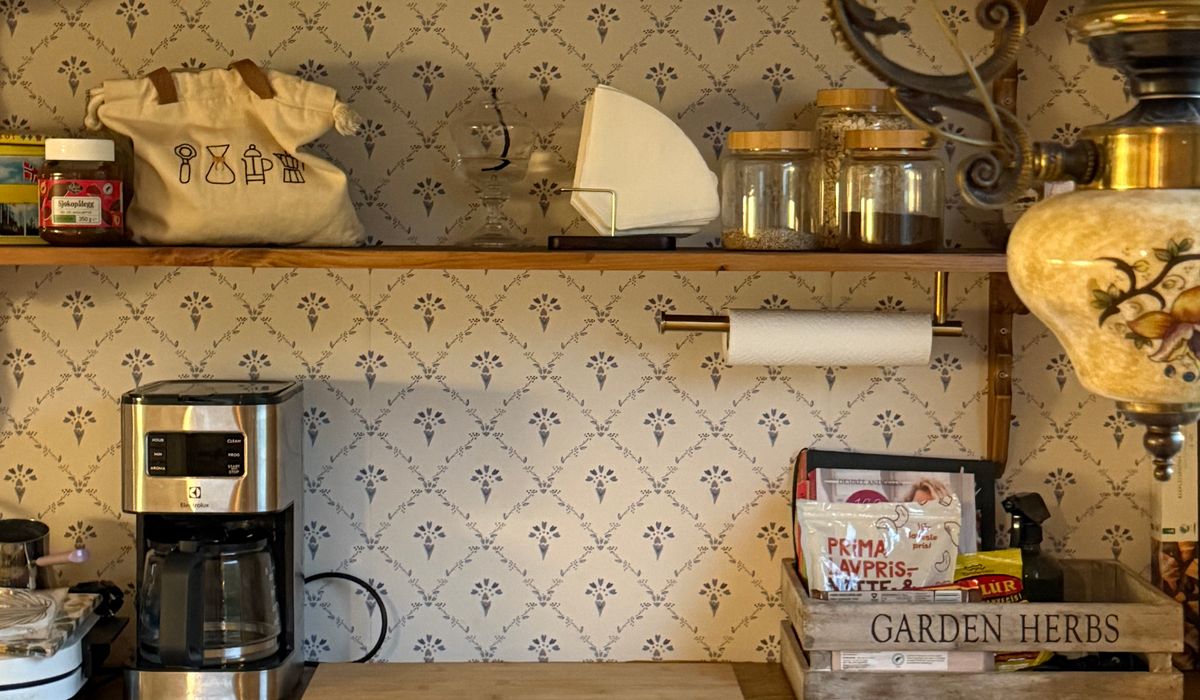
Alcoves are the quiet heroes of British homes. Those recesses either side of a chimney breast, the awkward gap beside a doorway, the corner behind a door that never quite takes a piece of furniture — they are wasted space in plain sight. Bespoke shelving turns them into proper storage without surrendering a single square metre of floor. The trick is planning for the fact that almost no wall in a period property is straight, plumb or square.
Work Out What the Space Is Actually For
Before you measure anything, decide what is going in. This single decision drives depth, shelf spacing and how robust the structure needs to be.
- Books: allow at least 300mm of depth for standard hardbacks, 350mm if you have art books or oversized volumes. Shelves carrying paperbacks can be 250mm deep.
- Display: ornaments, framed photos and ceramics usually need 250–300mm depth and generous height between shelves.
- Media and tech: amplifiers, routers and record players need ventilation, so plan open backs and at least 50mm of clearance above each unit.
- Mixed use: a deep base cupboard with open shelving above is the classic alcove arrangement and hides the clutter that ruins a tidy room.
If the alcove flanks a working chimney breast, remember the flue. Building tight against hot brickwork is rarely sensible, and a ventilated gap keeps everything happier.
Measuring an Alcove That Refuses to Be Rectangular
Victorian and Edwardian terraces are the usual offenders, but even newer homes have corners that wander. Measure the width at the top, middle and bottom of the opening, and take the depth at both sides and in the centre. Note the tallest and shortest measurements rather than a single average.
Then look at the obstructions. Skirting boards, picture rails, dado rails, cornicing and uneven plaster all eat into the space. You can either cut shelving around them or, more elegantly, finish the unit with a plinth that sits in front of the skirting and scribe the side panels to the wall. Scribing means cutting the edge of a panel to follow the wall's curve so it sits flush — the mark of a properly fitted job.
Check for cables, sockets and pipework before drilling. A stud finder and a quick look under the floorboards will save you from a nasty surprise.
Choosing Materials That Suit the Room
For painted shelving, 18mm moisture-resistant MDF is hard to beat. It takes paint beautifully, stays stable in centrally heated rooms and comes in wide boards that reduce the number of joints. The cut edges need sealing with primer before topcoats, or they will drink paint and stay slightly rough.
If you want timber grain on show, birch plywood gives a clean, modern edge, while oak or ash veneered boards suit period rooms. Solid timber looks wonderful but moves with the seasons, so allow for expansion and avoid pinning shelves too rigidly.
Whatever you choose, a shelf spanning more than about 900mm will sag under load unless it is supported in the middle or beefed up to 25mm thickness. A discreet central upright, or a fixed shelf acting as a divider, solves it neatly.
Shelf Spacing and the Structure Behind It
Aim for a rhythm rather than random gaps. Common spacings that work well:
- 260–280mm for paperbacks and standard fiction.
- 320–350mm for general hardbacks and boxed sets.
- 400mm+ for display shelves or large format books.
- Adjustable shelving using a drilled ladder system or shelf pins gives flexibility if your collection grows.
Fix uprights to a batten screwed into the wall, or better still, cut side panels that span floor to ceiling and take the weight themselves. Fixings matter in older homes: into brick or block, use proper wall plugs and screws; into plasterboard, use heavy-duty cavity fixings or find the studs. Dot-and-dab walls need longer screws to reach anything solid. Always fix into something structural, not just plaster.
Corners, Angles and Awkward Geometry
Corner shelving needs a different approach. A right-angled corner unit with a 45-degree front face gives usable depth without a dark void behind it. If the corner is not square — and it often is not — make a cardboard template of the angle and transfer it to your shelf boards. It takes ten minutes and saves an afternoon of frustrated trimming.
For a shallow corner, floating shelves cut to a triangular or mitred shape look lighter than a full carcass. In narrow alcoves beside doors, consider a single tall column of shelves only 200mm deep for DVDs, spices or bathroom bottles.
Finishing, Lighting and the Little Details
Caulk the joints between unit and wall before painting, then fill screw holes and sand back. Two coats of a hard-wearing eggshell or satinwood in a colour matched to the walls helps the shelving recede and makes the room feel larger. Contrasting dark shelving draws the eye and suits a moodier scheme.
Lighting lifts bespoke shelving from practical to beautiful. A warm LED strip tucked under the front edge of a shelf, or a slim picture light above an alcove, adds depth and makes display pieces sing. Choose 2700K for a soft, domestic glow and keep cables routed behind the uprights in a channel cut before assembly.
Finally, leave a little breathing room. Fill every shelf to the brim and the whole arrangement looks cramped. A few gaps, a trailing plant and a mix of heights will make your alcove look considered rather than crammed — and that is the whole point of going bespoke.


Open plan spaces need flexible lighting for different tasks and moods. Discover how to combine ceiling, task and accent lights across one large room.
Dimmable lamps can transform evenings at home, creating gentle pools of light. Learn where to place them and which shades work best for ambience.
A small alcove can become a productive home office with careful planning. Explore slim desks, wall shelves and cable management for a tidy workspace.
Period homes have unique proportions, so desk choice matters. Find styles that fit alcoves, bay windows and compact rooms without ruining original features.